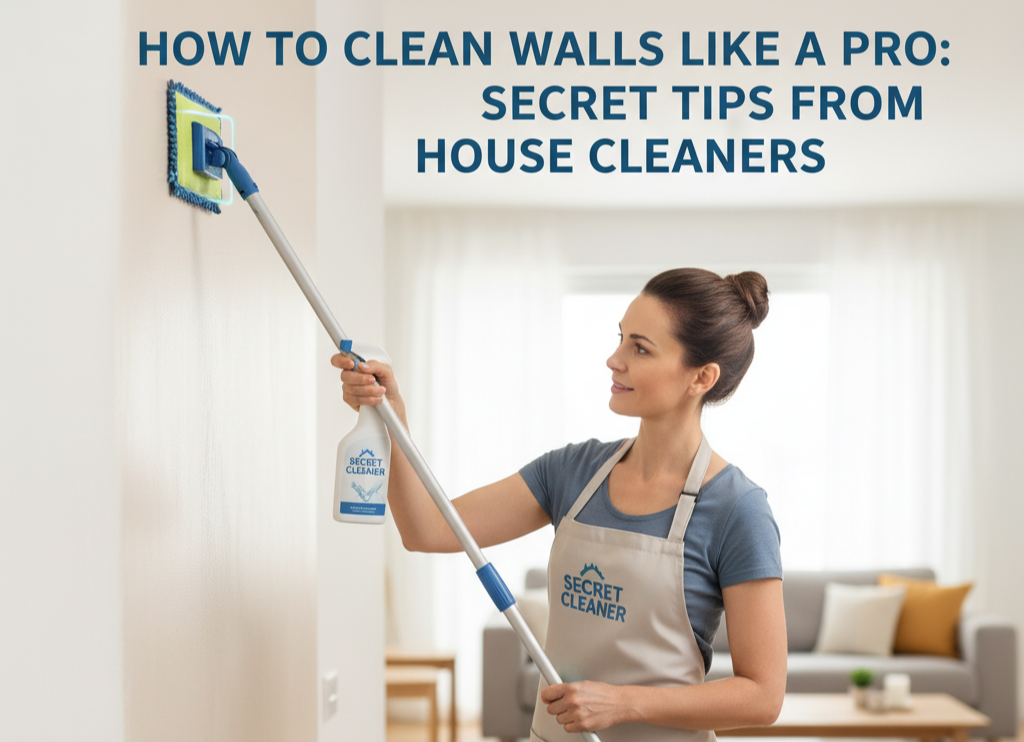
How to Clean Walls Like a Pro: Secret Tips from House Cleaners
Did you know that cleaning your walls the right way can remove 99% of allergens like non-living dust mites and pet dander? Most people skip their walls during cleaning, even though walls collect dust that traps allergens, chemicals, germs, and microscopic particles.
Wall cleaning used to be a huge part of spring cleaning routines, especially when homes had wood or oil furnaces that left residue on walls. Modern homes still need regular wall maintenance. Your wall's sheen affects your cleaning approach by a lot. Flat paint needs gentle treatment while glossier finishes can handle a deeper clean. Each area of your home needs its own cleaning method - kitchen walls with grease need different care than hallways with scuff marks.
This piece reveals professional house cleaners' secret tips to get spotless walls without damaging paint. You'll discover the best tools and step-by-step methods for different wall types, plus get 5X cleaning action against odor, grease, grime, dirt, and allergens.
Professional cleaners know a significant step that most homeowners skip: dusting and checking walls before grabbing soap and water.
Wall dusting goes beyond looks—it's a vital first step that impacts your entire cleaning process. The original step removes surface dirt and allergens that build up over time. Skipping this creates mud when water hits the wall, leaving ugly streaks and smears.
"The key to washing walls is to remember it's just surface dust on a delicate surface," according to cleaning experts. So washing right away might damage your paint or wallpaper.
Clean walls help reduce dust, dirt, and germs that trigger asthma and allergies. Walls collect more than just cobwebs—they harbor dust mites, mold spores, and grease particles, especially in kitchens and bathrooms.
The quickest way to dust includes:
Start from the top and work downward to let gravity help. Give extra attention to moldings, corners, and areas around air vents.
Take time to check your walls after dusting. This helps you find spots needing extra care and pick the right cleaning methods.
Kids leave their mark everywhere. "If you have kids, you probably have fingerprints and handprints on your walls". These marks usually show up at heights matching your child's growth stages.
Look at walls in natural light and focus on:
Here's a simple test: wipe a section of wall with a damp microfiber towel and mild soap solution. Let it dry and look for color differences—this shows your wall's true condition.
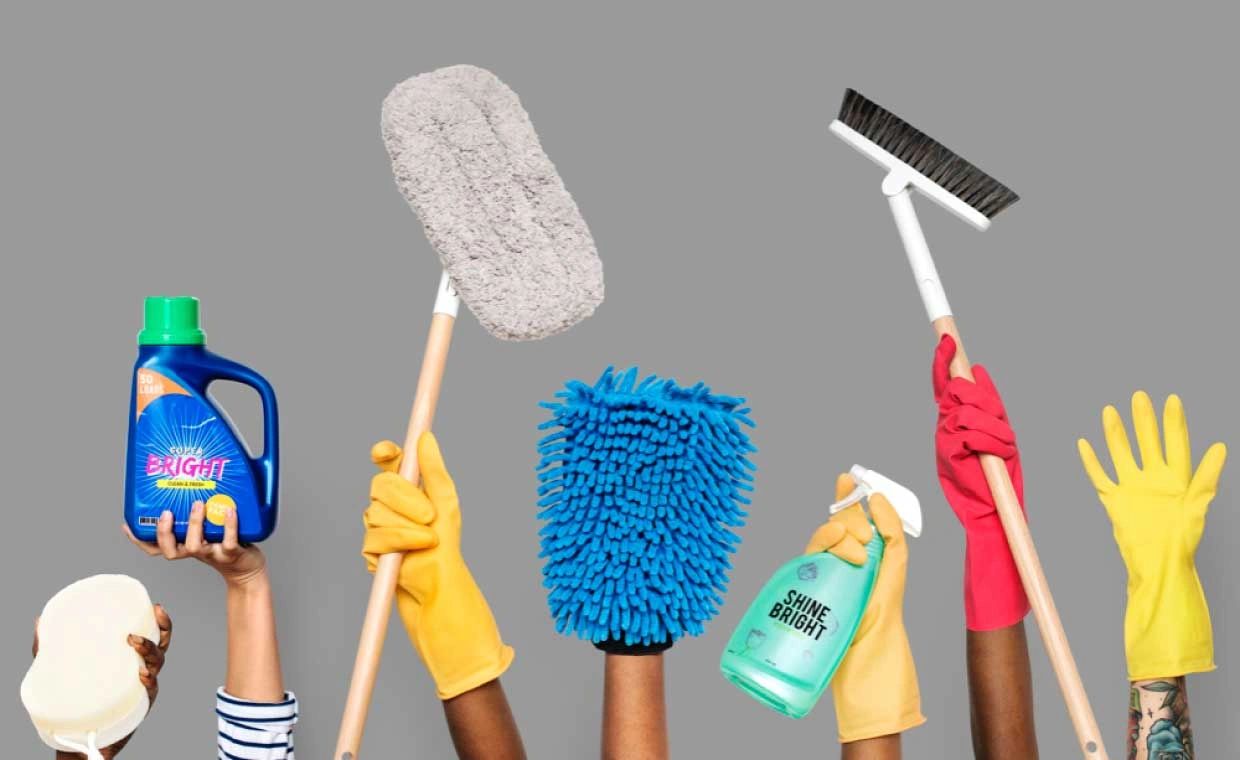
Professional cleaners use specific tools that make wall cleaning quick and simple. The right equipment saves time and gives better results than makeshift alternatives.
Microfiber cloths excel as wall-cleaning companions because they can soak up seven times their weight in water. These gentle yet powerful cleaning tools trap dust and dirt without leaving any streaks or lint. You should wash microfiber cloths separately from other laundry because they catch tiny debris even during washing.
Microfiber mop heads help you reach higher wall areas while giving the same streak-free results. The soft texture keeps your painted surfaces safe during cleaning.
The Chomp wall mop comes with teardrop-shaped swiveling heads that direct into corners with amazing precision. Most models have telescoping handles that stretch up to 5 feet, so you can reach ceilings easily.
A Swiffer with a dry cloth works great for the first round of dusting. You can attach a paper towel or clean rag if you don't have dedicated Swiffer sheets.
Magic erasers work great on stubborn marks, but you need to use them carefully. These melamine foam blocks work like ultra-fine sandpaper. They remove scuffs well but can damage paint if you press too hard.
The eraser and wall surface should be damp before use, and you should apply moderate pressure to protect the paint. Test these erasers on a hidden spot first since they might strip paint finishes.
Mix three pumps of dish soap, two tablespoons of white vinegar, and four cups of hot water in a spray bottle to create an effective wall cleaner. A baking soda solution helps with tougher stains.
Using two buckets makes cleaning more effective - one for cleaning solution and another for rinsing. This method keeps dirt from spreading across your walls.
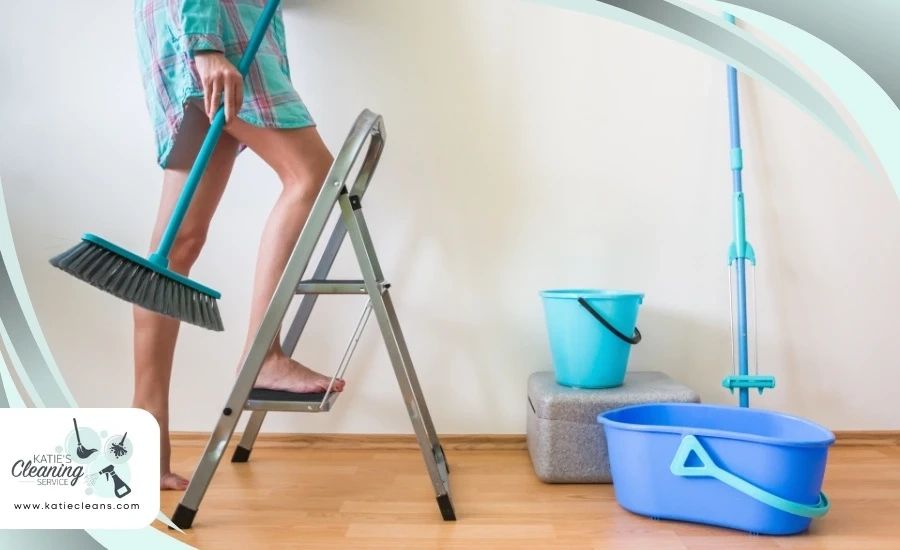
Step stools let you safely reach higher areas. Look for models with non-slip feet and wide platforms. Your step stool should support at least 200 pounds to ensure safety.
Different wall types just need specific cleaning techniques that keep them spotless without causing damage. A professional approach will give you walls that stay clean longer.
Flat paint walls need extra care because they can get damaged easily. These delicate surfaces require:
Stubborn stains might need a damp melamine foam eraser. Test it first on a hidden spot to make sure it won't take off the paint.
The paint type doesn't matter - always test your cleaning solution on a hidden area first. Start at the top and work your way down with two buckets. One bucket holds the cleaning solution while the other has rinse water. This stops dirt from getting on areas you've already cleaned. Fresh paint needs two weeks to dry completely before you can wash it.
Kitchen and bathroom walls usually have semi-gloss or glossy finishes that handle moisture better. Mild dish soap mixed with warm water works great to cut through kitchen grease and grime. Bathroom walls need quick attention when they get wet to stop mold from growing.
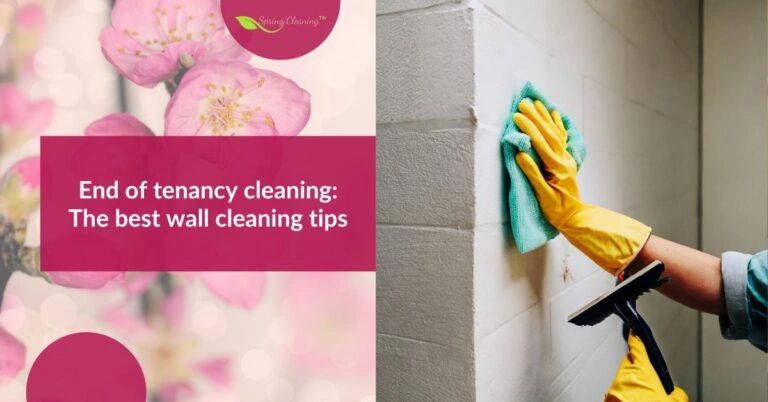
Rental properties need a quick wall review before you start cleaning. Kids' marks often come off with simple dish soap solution. Crayon or marker stains respond well to magic erasers, but you'll need a gentle touch to protect the paint.
Professional wall cleaners know the secret finishing touches that set their work apart. These insider techniques can help you achieve results that last longer and look better than amateur cleaning.
Professional cleaners take an unexpected approach. They start at the bottom and work their way up when washing walls. This method stops dirty water from running down clean areas and leaving hard-to-remove streaks. "A drip of dirty water is much easier to remove from a clean area than from a dirty area". This approach works great on really dirty walls where drips can't be avoided.
You'll need two separate buckets to get started - one with your cleaning solution and another with clean water for rinsing. This setup keeps you from spreading dirt all over your walls. "Replace dirty water as needed so you always have both clean solution and clean water for rinsing". Make sure to rinse your cloth often in the clean water bucket before putting it back in the soap solution.
Your walls need quick drying after rinsing off the cleaning solution with soft, absorbent cloths or towels. Water left on walls can damage paint and leave spots over time. "Gently dry the area using cloths or towels". Opening windows or running fans will speed up the drying process.
Some wall marks just won't come clean no matter what you do. Touch-up paint becomes your best option in these cases. "Your first step should be trying to clean it with a rag, soap and water". "Thoroughly clean the affected area and fix any small cracks" before painting. Walls with flat or matte finishes take touch-ups better than glossy ones.
Clean walls boost your home's appearance and substantially improve indoor air quality by removing allergens, dust, and other particles. This piece covers everything professional cleaners do to keep their walls spotless without damaging the surfaces.
The right preparation makes all the difference. You should start with thorough dusting before adding any moisture to your walls. On top of that, the right tools—microfiber cloths, appropriate cleaners, and dual bucket systems—will give you professional-quality results while protecting your paint.
Each wall finish needs its own approach. Flat paint needs gentler handling than semi-gloss or gloss finishes in kitchens and bathrooms. Testing your cleaning solution on a hidden spot first prevents any damage to your walls.
These professional tips will reshape the scene of your wall cleaning routine from a dreaded chore to something you can handle easily. Clean walls that you manage to keep look better and last longer, which saves money on repainting and repairs. These techniques in your cleaning toolkit will help you achieve that professional finish that makes your home feel refreshed and renewed.
Master these professional wall cleaning techniques to achieve spotless results while protecting your paint and improving indoor air quality.
These insider techniques from professional house cleaners will transform your wall cleaning from a dreaded chore into an efficient process that removes 99% of allergens while preserving your paint's integrity.